Clean product cutouts make it easier to reuse the same item across storefronts, ads, comparison graphics, and catalogs. The goal is not just removing the background. It is creating a reusable product asset.
Step 1: Start with the cleanest source possible
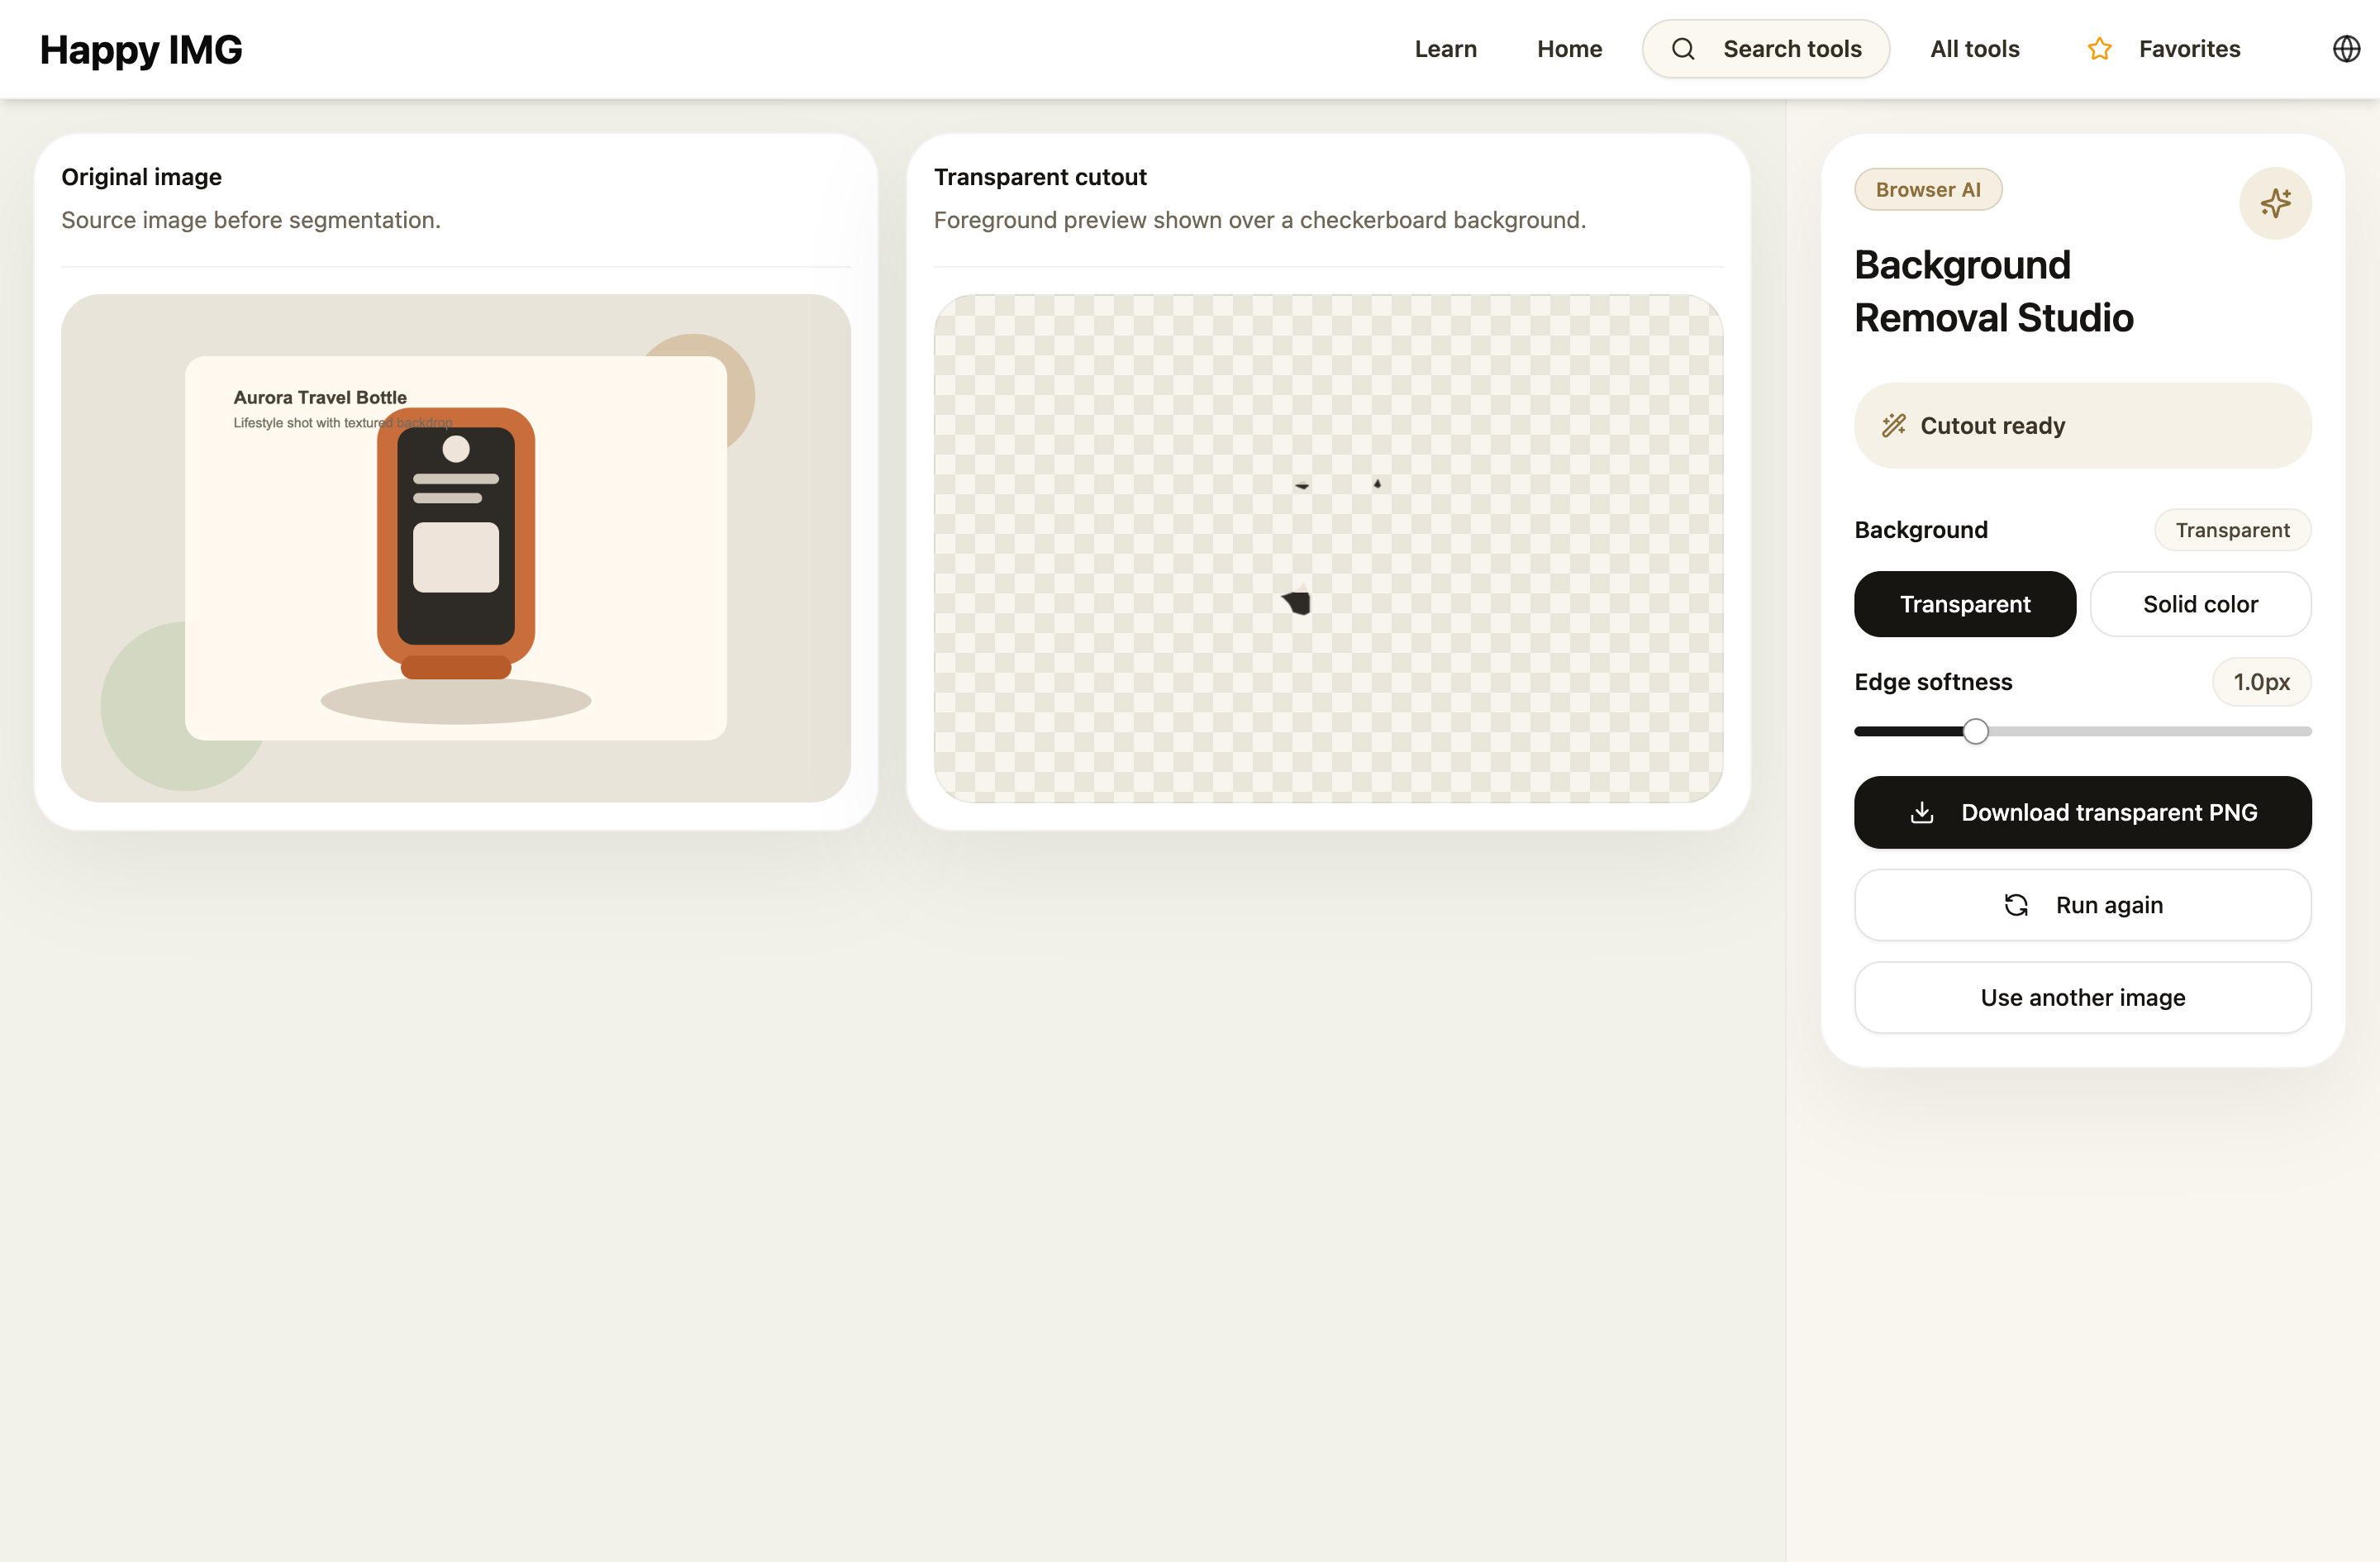
Background removal works better when the product is clearly separated from the background. Strong edges, good lighting, and minimal shadow noise help.
Step 2: Remove the background
Open Remove Background and generate the transparent result first. Do not jump straight into adding new colors before you confirm the cutout looks clean.
Step 3: Check hard edges
Review areas that usually fail first:
- hair or soft fabric edges
- transparent packaging
- reflective surfaces
- shadows close to the product
If the edge looks dirty, fix that before moving on.
Step 4: Place the product on the new background
If the destination marketplace wants white or neutral backgrounds, move the cutout into Add Background Color to Image. This is also useful when a transparent PNG is not accepted by the platform.
Step 5: Resize for the final channel
Once the background looks correct, export the image at the correct listing size with Product Photo Resizer or Ecommerce Image Resizer.
Common mistake
Do not accept a decent cutout if the product edge still looks jagged or haloed. Those flaws become more obvious on plain white backgrounds.
Better workflow for catalogs
Treat background removal as the first cleanup step in a larger pipeline: remove background, set the final background, resize, then export.