Screenshots are fast to share, which is exactly why they often leak more than intended. Tabs, names, email addresses, internal URLs, and account numbers can all sit in the same image.
Step 1: Decide whether blur is enough
If the hidden detail is low risk, blur can work well. If the screenshot contains regulated, financial, or account-linked information, switch to Screenshot Redactor or Redact Image instead.
Step 2: Scan the whole screenshot, not just the main panel
Most leaks happen in secondary areas:
- browser tabs
- sidebar names
- notification toasts
- email addresses in headers
- URLs and internal IDs
Review edge areas first before you start editing.
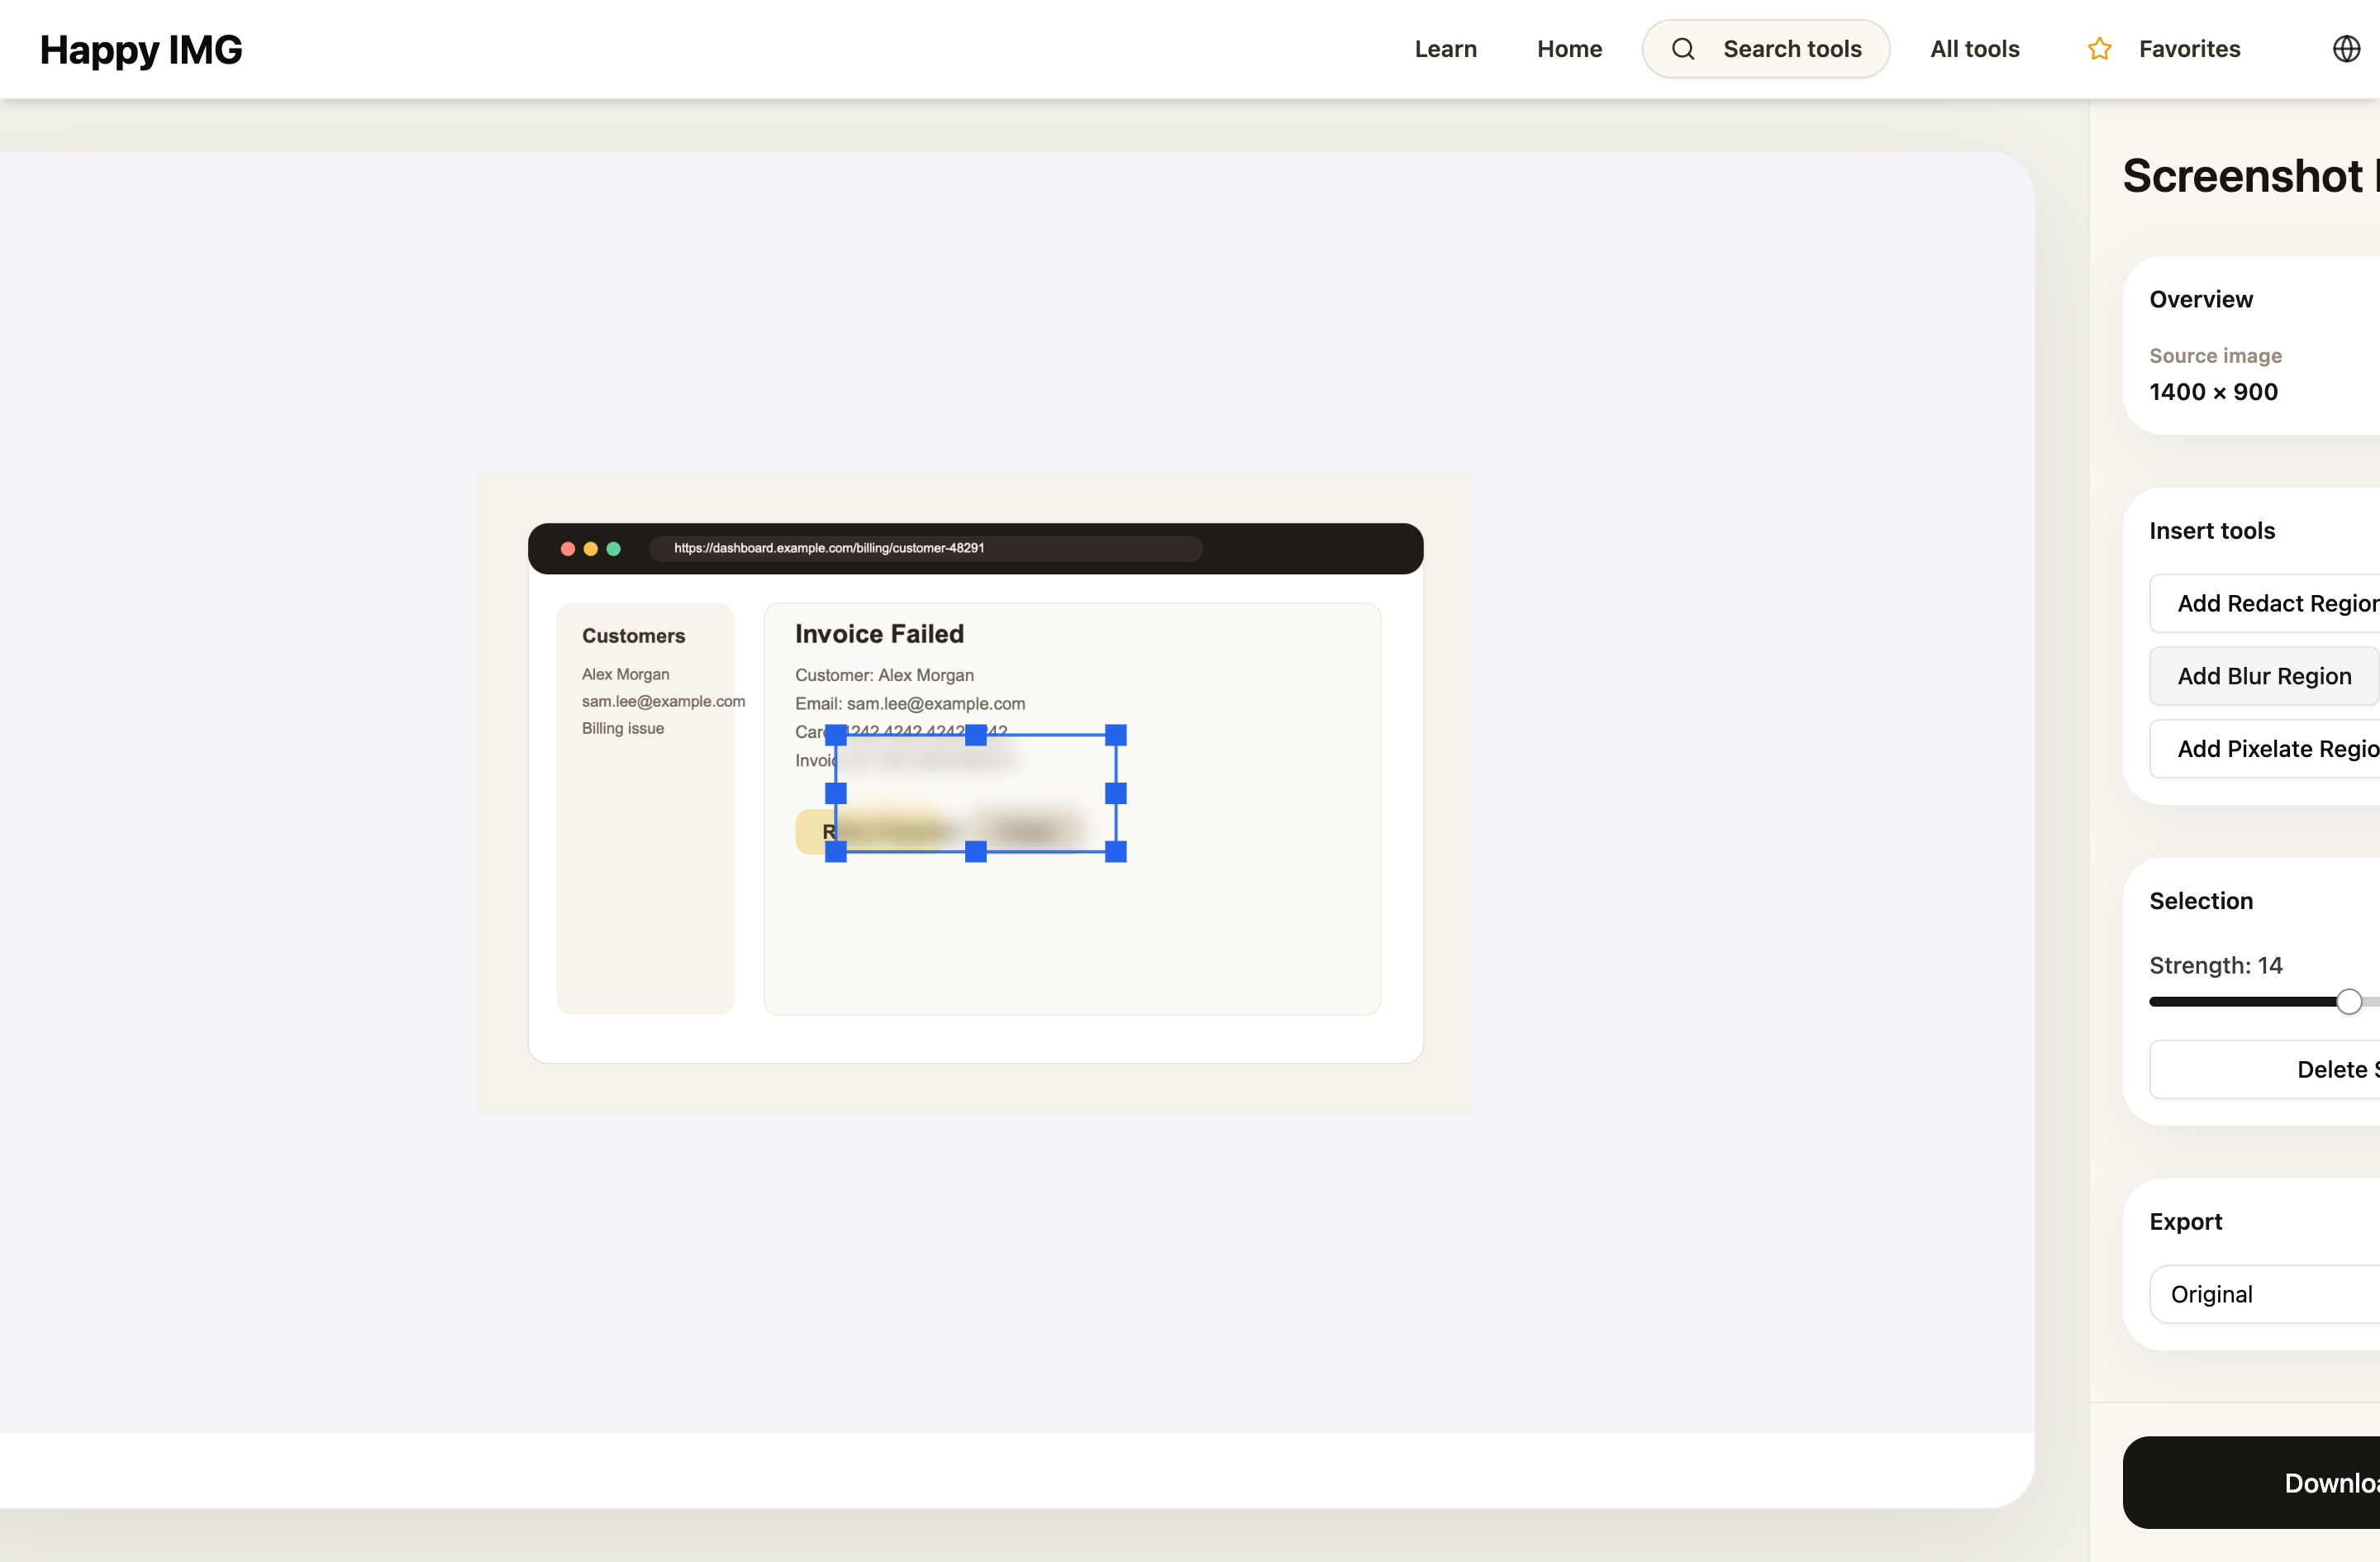
Step 3: Blur only the exact regions you need
Open Screenshot Redactor or Blur Image and add blur boxes to the specific fields that should disappear. Keep the blur area tight so the rest of the screenshot stays easy to understand.
Step 4: Combine blur with highlight if needed
If the screenshot is for support or documentation, you may need to hide one area and emphasize another. After blurring, use Highlight Image or Screenshot Annotator to guide attention to the real subject.
Step 5: Export and zoom in
Always inspect the exported file at a larger size. Small text can remain partially readable if the blur is too light or the area was not fully covered.
Better default for teams
For internal documentation or customer support handoffs, use a simple rule: blur for low-risk clutter, redact for sensitive data. That keeps the workflow fast without being careless.